File System Backups
Backing up work to tapes is a 3 step process.
Note
All shell scripts and commands described below must be run on the server 192.168.0.208 as root
1. Preparing the file lists
The LTO-4 tapes we use are 800GB in size. So we must first run a shell script to create file lists that divide the project that is to be archived into chunks of 800 GB.
Open a terminal and run the following commands:
# sudo as root user
[server@server ~]$ su
Password:
# cd to the backup folder where the scripts are located
[root@server ~]$ cd /opt/backup/
# list the files and directories
[root@server backup]$ ls -l
# This is an example output of the command
total 32
-rw-r--r-- 1 root root 1762 Dec 14  2015 file_chunk.sh
-rwxr-xr-x 1 root root 1454 Jan 25 09:40 post-backup.sh
-rw-r--r-- 1 root root  176 Dec  4  2015 post_chunk.sh
-rwxr-xr-x 1 root root 1718 Sep  2 09:45 pre-backup2.sh
-rwxr-xr-x 1 root root  771 Dec 15  2015 pre-backup-original.sh
-rwxr-xr-x 1 root root 3038 Jan  8  2016 pre-backup.sh
-rw-r--r-- 1 root root 1465 Mar  1  2016 prep_files.sh
drwxr-xr-x 2 root root 4096 Feb  9 22:57 tmpfiles
# if tmpfiles folder exists as shown above, delete all files within it.
[root@server backup]$ rm tmpfiles/*
# now run the command to create the file list.
# prep_files.sh is the script. It should be followed by path to all projects that need
# to be archived. For example:
[root@server backup]$ sh prep_files.sh /data/XFS1/ef_coiled/ /data/XFS1/imp_roots/ /data/XFS1/imp_tut/ /data/XFS1/iso_sob/
# Let this command run, it will take a while
Once the command has finished running, your tmpfiles folder will be filled with files. Here is an example of what that will look like:
-rw-r--r-- 1 root root 25063593 Jan 16 17:56 backup_filelist_1
-rw-r--r-- 1 root root 25063593 Jan 16 17:56 backup_filelist_2
-rw-r--r-- 1 root root 25063593 Jan 16 17:56 backup_filelist_3
-rw-r--r-- 1 root root 10064025 Jan 16 18:55 prep_file
What does this mean? The backup_filelist1/2/3 are a list of files whose total size 790GB. They can be neatly archived into 3 LTO tapes.
The prep_file is a list of files that are left. Their size will be less than 790GB and will be considered the next time the prep_files.sh command is run.
2. Backing up data
Now that we have our files organied into chunks, insert the tape into the tape drive. Go to the web browser and log into the webmin page.
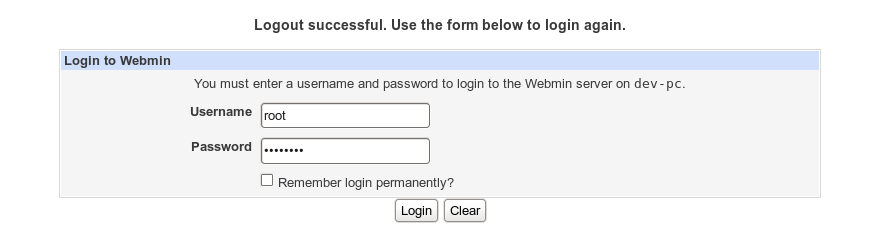
Login Credentials:
Username: root
Password: server
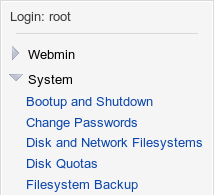
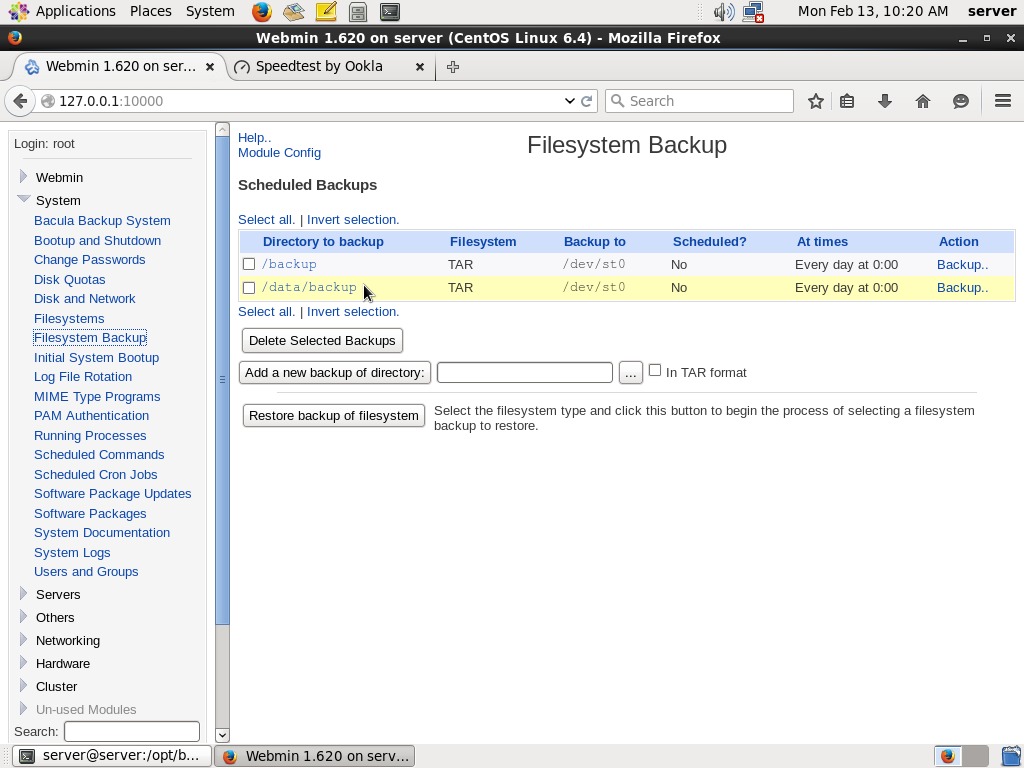
From the side panel select Filesystem Backup
Select /data/backup in the ‘Directory to backup’ column
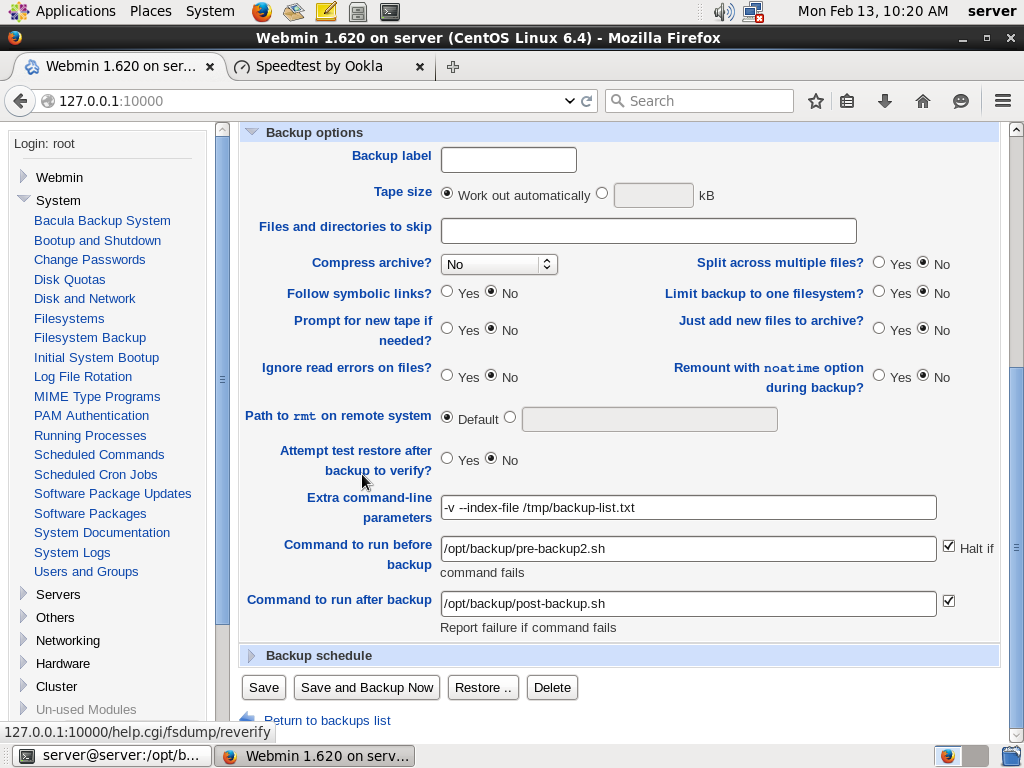
When you select /data/backup, the edit backup page options. Expand the ‘backup options’ section.
The pre-backup script should be /opt/backup/pre-backup2.sh and the post backup script should be
/opt/backup/post-backup.sh
What does the pre-backup script do?
The pre-backup script looks at the the lowest numbered backup filelist that we created in step1. So in the above example it will look at backup_filelist1. It will copy the files listed in backup_filelist1 to the location /data/backup/
Once the file copy is complete, it will start archiving the files to the tape. When the archiving to tape is complete, the post-backup script is run.
What does the post-backup script do?
The post-backup script will first verify if all files in /data/backup have been written to the tape. If successful, it will write a pdf file with a list of all the archived files. This file is written to /data/backup_logs/<date_of_backup>.pdf
It writes a second file called backup-dirlist in /opt/backup/tmpfiles/ which is a high level view of the archived folder structure. The script then deletes files in /data/backup/. It also deletes the backup-filelist that was used for this archiving. In this case backup-filelist_1. It does this so the next tape can start archiving files in backup-filelist_2.
3. Finishing up
Now that the tape is successfully archived, we just need to make sure it is labeled correctly and the logs are stored in a permanent location.
The tapes are labeled as SAS.LVFX.<tape_number> (VOL <number>).
First copy the file list pdf that was created in step 2 to the correct archive folder. The archive folder is
/data/work01/SAS_archive_catalogues
Here is an example:
# Copy the high level folder structure
[root@server backup]$ cp /opt/backup/tmpfiles/backup_dirlist /data/work01/SAS_archive_catalogues/LVFX.SAS.052.VOL3.txt -Lvr
# Copy the pdf file
cp /data/backup_logs/2017012613.pdf /data/work01/SAS_archive_catalogues/LVFX.SAS.052.VOL3.pdf -Lvr
Note
A good naming practice is to create a new tape number for every new project. A single project spread across multiple tapes can share the same tape number and have different volume numbers.
Now that your tape is archived successfully, take it out of the tape drive, insert a new tape and repeat
the process from step 2. Continue till all files in /opt/backup/tmpfiles/ are done.
Deleting the project folder
Once the project has been archived, we must delete the project from the production server.
Important
Check to make sure that there are no files in the /opt/backup/tmpfiles/ folder.
If there is a file there called prep_file, check the file to make sure that no files
from the project you are about the delete are in there.
If you are sure if is safe to delete a project, you should use the linux rm command instead of just pressing ‘delete’ on the folder in the project browser.
Execute the following commands:
[root@server ~]$ cd /data/XFS1/
[root@server XFS1]$ rm -rfI <project>/
Helpful commands
There might be a case as shown above where a prep_file exists in the /opt/backup/tmpfiles folder.
If this file contains files belonging to the project you are archiving, then you cannot delete the project.
So then what do you do?
First, lets run a command to check what is the size of the files that make up this prep_file.
Run the command:
totalsize=0; while IFS='' read -r line || [[ -n "$line" ]];
do filesize=`du -b -s "$line" | cut -f 1`; totalsize=$(($totalsize+$filesize));
done < /opt/backup/tmpfiles/prep_file; echo $totalsize
The output of the command is in bytes. For example, if the output is 788625545511 that is approximately 788GB. If size of the files is close to 700GB, you can just rename this file to backup_filelist_1 and re-run the backup after inserting a new tape.
You can rename the file with:
[root@server XFS1]$ mv /opt/backup/tmpfiles/prep_file /opt/backup/tmpfiles/backup_filelist_1
You can now safely delete the project folder on the production drive.
If the size of files in prep_file is too small, eg 100GB, leave the prep-file as it is. The next time you backup a project, it will take the files in prep_file under consideration when you run the prep_file.sh command.