Client Review Session
The client will receive an email invite to the review session.
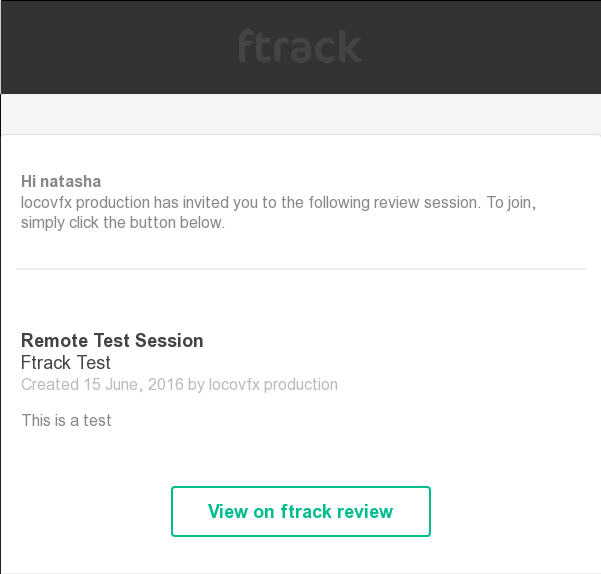
Click on the link called “View on ftrack review” to open the review session.
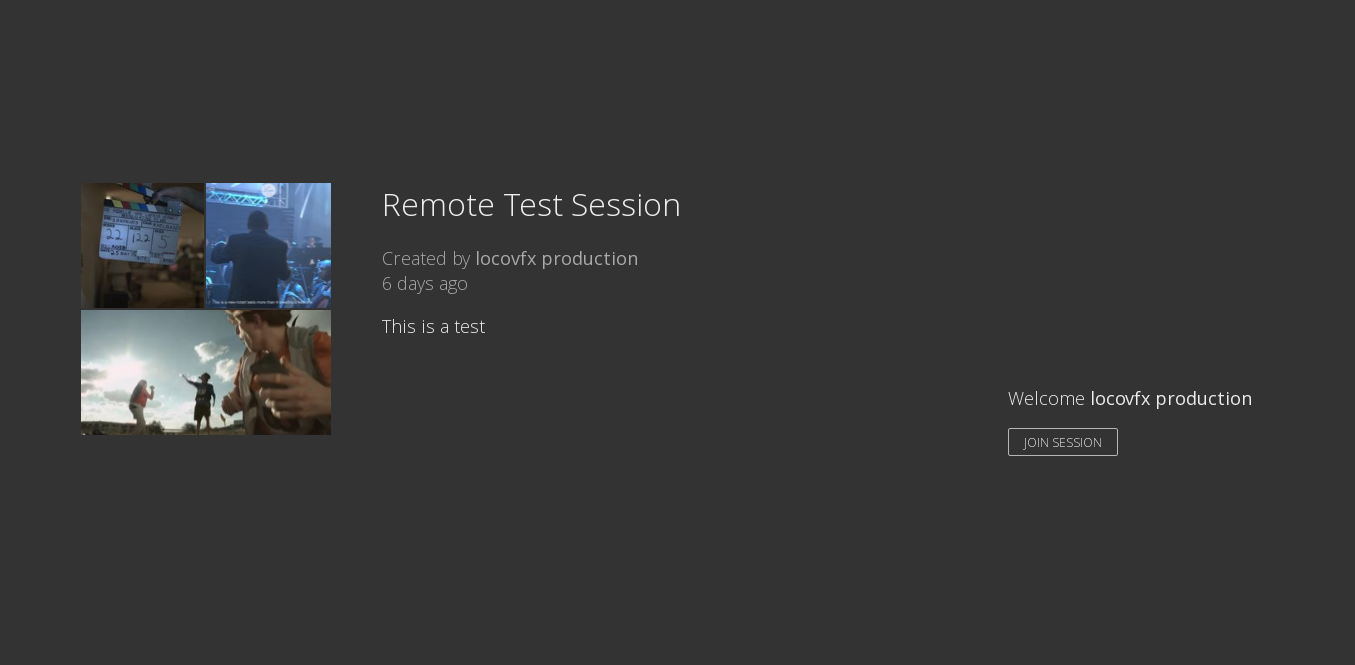
Click on “Join Session” button to start the review.
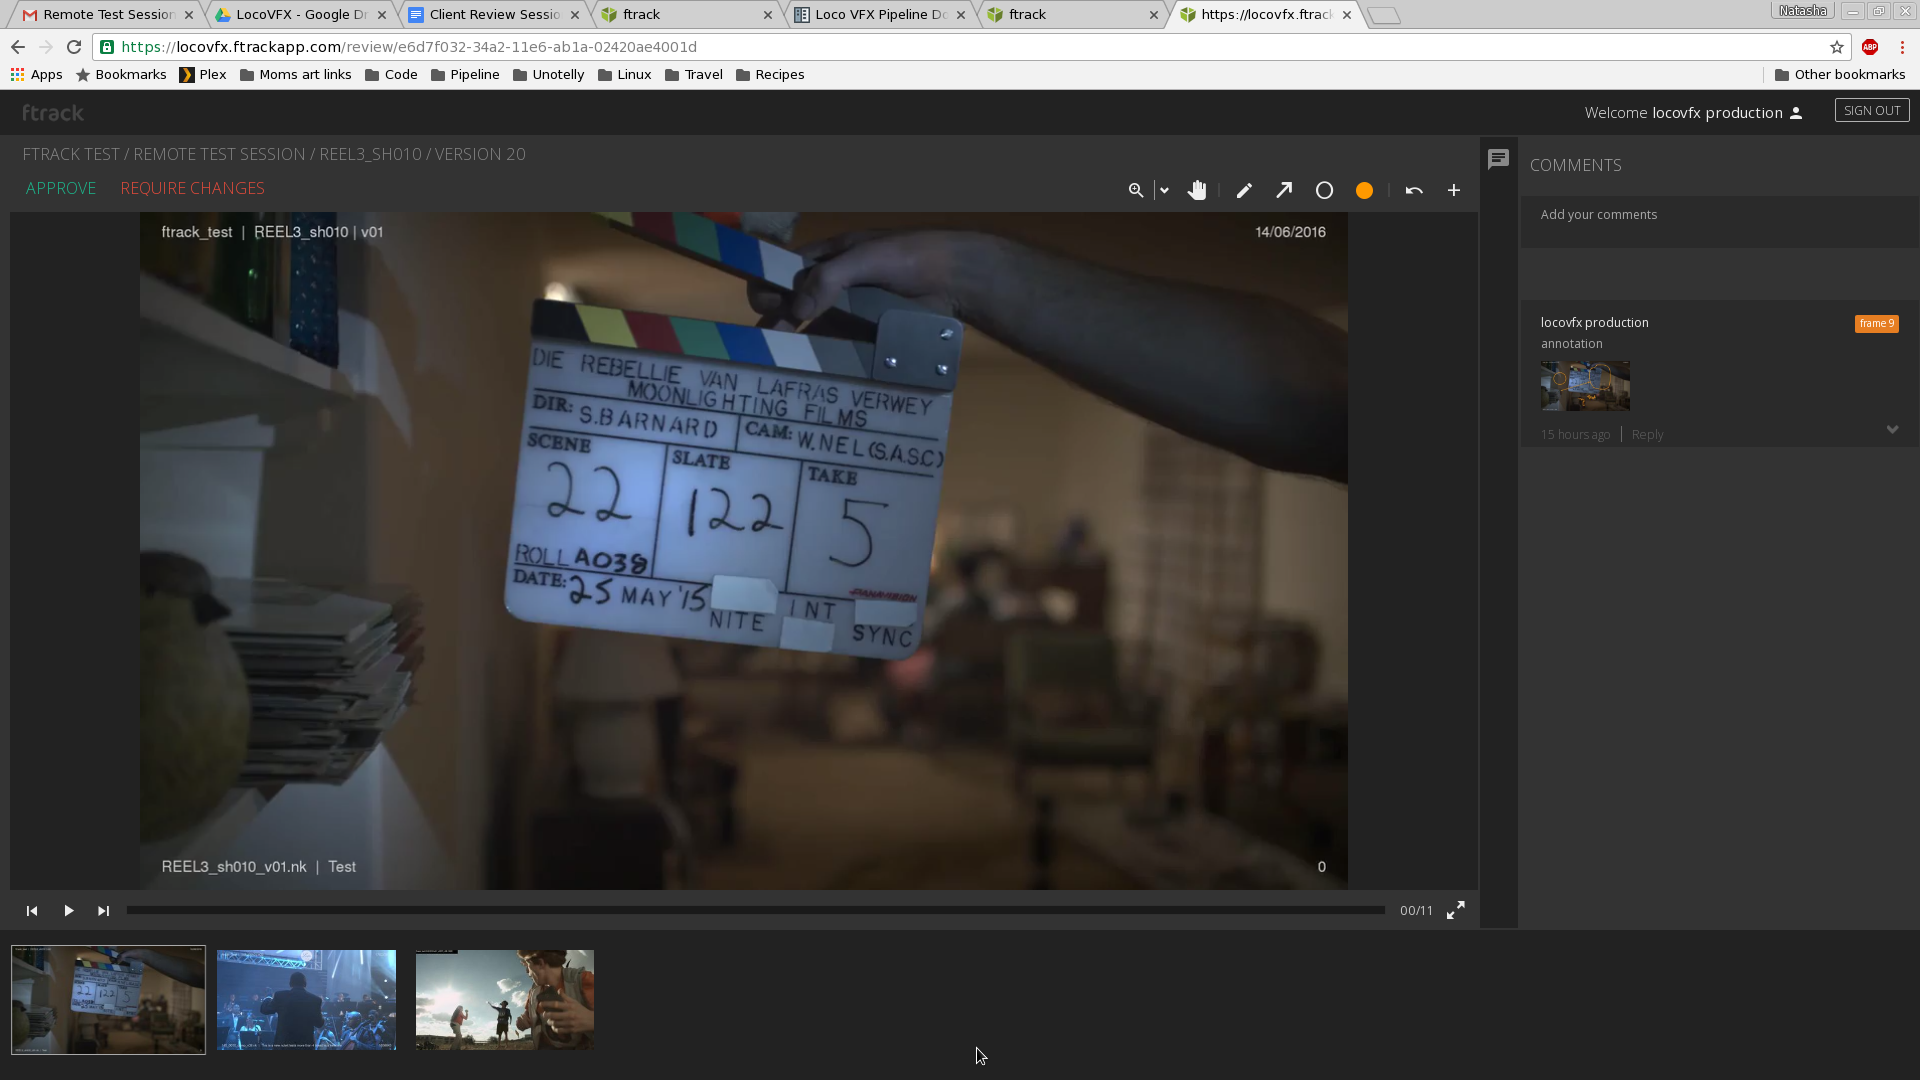
The bottom panel shows all the shots that are available for review. Click on the shot to load it. Use the playback buttons to play, stop and step through the frames.

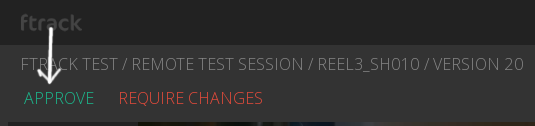
If the shot is approved, just click on the green approve button on the top left corner and move on the to the next shot in the timeline.
If the shot requires changes, you can click on the “Require Changes” button. You can also add notes and annotations to the shots that require changes.
To create an annotation, use the annotation tool box on the top right.
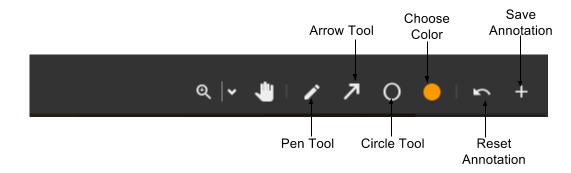
Create an annotation on the frame using the above tool bar, save the annotation. Then add a note/comment in the comments column on the right and click on Post.
This will save your annotation and notes.
Here’s a quick gif to demonstrate the process.
Once you’re done with the review, click on the sign out button on the top right corner of your session.
Note
It is important that you sign out of the session. This will ensure you’ve securely signed out and all your changes will be saved. If you do not sign out correctly, your review feedback will not be saved.